The modals in Odoo by default are static, making it impossible to adjust their size or move their position. Which in some cases can be challenging for the users. Especially when dealing with modals that contain an extensive amount of data, such as a list view with numerous columns.

The Web Dialog Size module enables the modals to resize in width, with two possible options: the native size provided by Odoo and a full-width view. Once the module is installed the "Expand" icon can be found in the right corner of a modal just before the close button. On click of the icon the modal is resized to full-width and the icon is switched to a "Compressed" icon, on click of which the modal returns to its original size.

Additionally, it is possible the option full-width to be the default one. However, there is no available setting for it in the configuration settings, instead, a System Parameter needs to be created manually. 
The parameter can be added from the Technical menu which is available on the Settings page when developer mode is activated. By clicking on the System Parameters menu in the Parameters section a list view will be shown with all parameters available in the system. A new one can be created by clicking on the button New. The key for this parameter needs to be web_dialog_size.default_maximize​ while the value needs to be set to True​. 
It is important to mention that in case the module is not anymore needed and it is uninstalled from the system this parameter will need to be removed manually from the System Parameters table.

In addition to the resizing feature that this module provides, it also adds the draggable option for the modals. This means that the modals are no longer static and can be easily moved anywhere on the screen. This can be especially useful in situations where it's necessary to reference data on the screen while working within the modal.

This module is maintained by the Odoo Community Association and it is available for Odoo 16 and all previous versions.

In addition is a short video with the module’s features.


Functional
Modules Review

The chatter position in Odoo is not customizable. It adapts to the screen size, appearing on the right side for larger screens and at the bottom for smaller screens. However, when users don't frequently use the chatter, a significant portion of the main workspace remains underutilized. This area could be better utilized, especially in form views where a substantial amount of information needs to be displayed on the screen, particularly when there are nested tables, such as in the Sales Order form view.

The "Chatter Position" module, as the name suggests, introduces the ability to customize the placement of the chatter. This customization is user-specific and can be found in the user profile settings. The three available positioning options are:

  • Responsive
  • Bottom
  • Sided

Responsive

This is the default and natively supported option in Odoo. As previously mentioned, this choice automatically sets the chatter to either the side or bottom position, depending on the screen size.

Bottom

Setting the chatter to this position will place it always at the bottom, freeing up additional space for the form view. It is important to mention that changing the position of the chatter by default will not expand the workspace for the form view. To achieve that need to be installed one of the modules: Web Sheet Full Width or Web Responsive. I would recommend the latter, as it introduces a lot more tweaks and optimizations to the entire Odoo backend interface.

Sided

Selecting this option will keep the chatter permanently positioned at the side. However, this choice tends to be less favored, especially on smaller screens, where it can become less practical.

From a technical perspective, the module is maintained by Odoo Community Association (OCA) which has a well-established quality assurance system for all of its modules. This provides a strong assurance that the addons are technically very well implemented and maintained.
The module is available for Odoo 15 and 16 and it supports both Community & Enterprise Edition.

In addition is a short video on how to install the module and the options that it provides.


Functional
Modules Review

Every website developed with Odoo comes by default with a publicly available page that lists all installed addons in the system. Here are two methods how to hide this page:

1. Deactivating the Template for the Page:
   This approach hides all information on the page, displaying an empty page ​    when visitors attempt to access the URL.

  • The simplest way to disable the template is from the "Customize" tab in Edit Mode.
    Once the page is opened in edit mode the toggle for "Odoo Information" can be found in the "Customize" tab. By turning the toggle to Off the template for the page will be disabled.
  • Disable the template "Show Odoo Information" from the Technical Menu under the User Interface section: 
    Settings > Technical Menu > User Interface > Views.
    The view can be disabled by turning off the "Active" toggle.

2. Disabling the Controller for the URL /website/info​:
    This change ensures that when visitors try to access the URL,
    a 404(Not Found) Page​ will be displayed.

  • Create a 404 redirect by navigating to:
    Website > Configuration > Redirects.
  • Configure the redirect action as 404 Not Found​ and set the URL From​ as /website/info.

Additionally, to prevent the page from being indexed by search engines, the Robots.txt​ file needs to be updated with a new rule: "Disallow: /website/info". This can be accomplished by going to:
Website > Configuration > Settings > SEO > Edit Robots.txt.

Functional Odoo 17
Tips

Odoo Developer Mode

The Developer Mode is a powerful tool in Odoo that provides access to a range of settings and options for both developers and admin users. This feature is crucial for configuring and maintaining the system properly. In this article, we will explore the Developer Mode from an admin user’s perspective and highlight the various features and settings it enables.

Activation

There are multiple ways to activate the Developer Mode in Odoo:

  1. The first option is from the Developer Tools section which is located at the bottom of the main Settings page. This section provides several Developer Mode options. The first option is most suitable for non-technical users, while the other two are aimed more towards developers.
  2. Another way to activate the Developer Mode is by adding the attribute “debug=1” to the URL.
  3. Also, there are browser extensions for Chrome and Firefox that can be used to activate the Developer Mode.

Personally, I prefer the last option as it is the most convenient and efficient for me.

Features

The features that the Developer Mode provides for admin users can be divided into two main groups:

  • Configuration settings and
  • Data overview and modification

Configuration Settings

When the Developer Mode is activated in Odoo, the user gains access to a range of system configuration options. These settings are located under the Configuration menu in each module or in the general configuration options available in the Technical menu within the main settings page.

To provide a better understanding of the types of configuration options available in this mode, let’s review a few examples:

  • In the Sales module, the configuration for Activity Types is only accessible in Developer Mode.
  • Setting up Tax Groups in the Invoicing/Accounting module can be done only in Developer Mode.
  • In the Technical menu, which is only available in this mode, there are multiple configuration options such as: 
    • Setting up Outgoing and Incoming email servers
    • Creating or modifying email and SMS templates
    • Creating or updating scheduled actions that will be executed on a predefined period of time
    • Configuring the System Parameters, some of these parameters are available for editing in a more user-friendly format from other parts of the system, while some of them can only be set from this section.
  • The Translation settings are also only available under Developer Mode. Within this menu, users can activate/deactivate different languages in the system, import new translations, and export existing ones.
  • Also in the User page, the Technical groups can only be set when Developer Mode is activated.

Data overview and modification

Another significant benefit of this mode is the access and overview of important data in the system. This contributes to an easier understanding of the whole system and a more manageable system directly from the user interface. To make it easier to comprehend, the data available through the Developer Mode, can be divided into two main categories:

  • Technical data
  • Functional data

Technical data

Technical data refers to the data that is crucial for the proper functioning of the system, and it can be accessed under the Technical menu. Some of the most important technical data that can be accessed are:

  • Models: It provides an overview of the data models defined in the system. For each model can be found information about its attributes, related fields, access rights, record rules, and views.
  • Fields: This view lists all the fields defined in the system. It is particularly helpful when the name of the field is known, but the model is not. For each field can be found information about its related attributes.
  • Views: It contains all the available XML views. For each view, can be found information about its attributes as well as the full definition of it. Under the view definition, are defined all the fields that need to be shown in the view, their placement in the view as well as some additional attributes, which introduce different rules for the elements in the view, for example, they can make a field required, visible or hidden, read-only or editable, etc.
  • Actions: They define the behavior of the system in response to the user’s actions. In Odoo there are a few different types of actions: Window Actions, Server Actions, Client Actions, URL Actions, Report Actions, and Automated Actions
  • Menus: All the menus defined in the system can be found in this view.
  • Access Rights and Record rules: These are an essential part of the security system in Odoo and ensure that each user can only see the data that corresponds to their profile.

It is important to note that the Models and Fields cannot be edited from the user interface, while the changes done to the Views, Actions, and Menus might be overridden when the module is updated. However, the Access Rights and Record Rules can be edited, and their updates will be permanent in most cases.

Additionally, technical data is also available for each field in the view. This means that users can examine each field directly in the view and review its basic information. This feature is useful when working on changes in the view and requiring information for a field, such as its technical name, type, model, relational model, context, and more. Users can access this information for each field by hovering over the small question mark symbols displayed on each of the fields.

Functional Data

The functional data available in the Developer Mode includes data created by the users and the system as a result of user actions. Admin users can access multiple views to review important data in the system. Here are some examples of such data:

  • Messages: This view lists all messages created in the system.
  • Followers: This view provides a complete overview of all followers related to all models in the system.
  • Emails: All sent and scheduled emails can be found here. However, it should be noted that if the email template used for the email is marked with the Auto Delete option, the email will be auto-deleted once sent.
  • Activities: This view lists all activities created by the users in the system.
  • Attachments: This view provides a list of all attachments in the system.
  • Payment Transactions: This view can be found under the Configuration menu in the Invoicing/Accounting module and lists all online transactions in the system.

Furthermore, Developer Mode can also reveal different view elements, such as fields, tabs, and sections that are not normally visible in the user interface. For instance, the Signature tab in the sales menu is only visible in Developer Mode. This is usually the case with sensitive data that is not necessary for regular users to see, but it can be useful to have an overview of it for special cases.

Developer Mode Menu

In Developer Mode, a small bug icon appears at the right corner of the main menu, just before the Conversations icon. This menu contains various options, some of which are more technical and mainly used by developers, we will focus only on the options which are useful for admin users.

Most of these options display technical or functional data for a particular view, model or record. For example:

  • Edit Action displays actions related to the particular view,
  • View Fields lists all fields related to the view,
  • View Access Rights and View Record Rules display access rights and security rules related to the particular model,
  • Get View shows the full view in XML format,
  • Edit View and Edit Search View display the views with all their attributes. The views can be edited from here, but the changes are usually overwritten when the module is updated.

Some of the functional data related to the particular record can be managed using this menu. Most of these options are available when the form view of the record is opened:

  • Managed Filters shows all custom filters for the model and allows the creation or modification of existing ones.
  • Set Defaults allows setting a default value for the model. For instance, if some values on the current record should be present on all future records, they can be set as default values, and the value will be automatically set whenever a new record is created.
  • View Metadata displays basic system information for the record, such as its ID in the database, the date it was created, and who created it. It also displays who last edited the record and when. Additionally, if the record has an external XML ID attached to it, it will be shown here. No Update indicates if this record is protected from updates from external XML data, meaning that if the record is edited and the module is updated, the changes will not be overwritten.
  • Managed Messages lists all messages related to the record. Each message can be edited or removed.
  • Managed Attachments displays all attachments added to the record. Similar to messages, they can be edited or removed from here.

The final two options in the Developer Mode menu are Become Superuser and Leave Developer Mode.
The first option, as the name implies, grants the user Superuser status in the system. This means that all access and record rules are ignored for that user. This option is useful when troubleshooting access rights issues.
The second option, Leave Developer Mode, disables the Developer Mode. This can be achieved in a few different ways, such as using the button Deactivate Developer Mode in the Developer Tools section or by clicking on the browser extension while Developer Mode is activated or simply by setting the “debug” attribute to 0 or removing it from the URL.

Conclusion

Despite its technical-sounding name, developer mode in Odoo is a valuable tool for both developers and admin users. It is an essential feature to properly configure the system and later maintain it.

While this article covers only a brief overview of the many options available in Developer Mode, the intention was not to provide all options but to highlight the type of configuration options and data that are accessible through this mode. In order to create a general understanding of the data and options available with it and where they can be found.

Functional Odoo 17
Posts


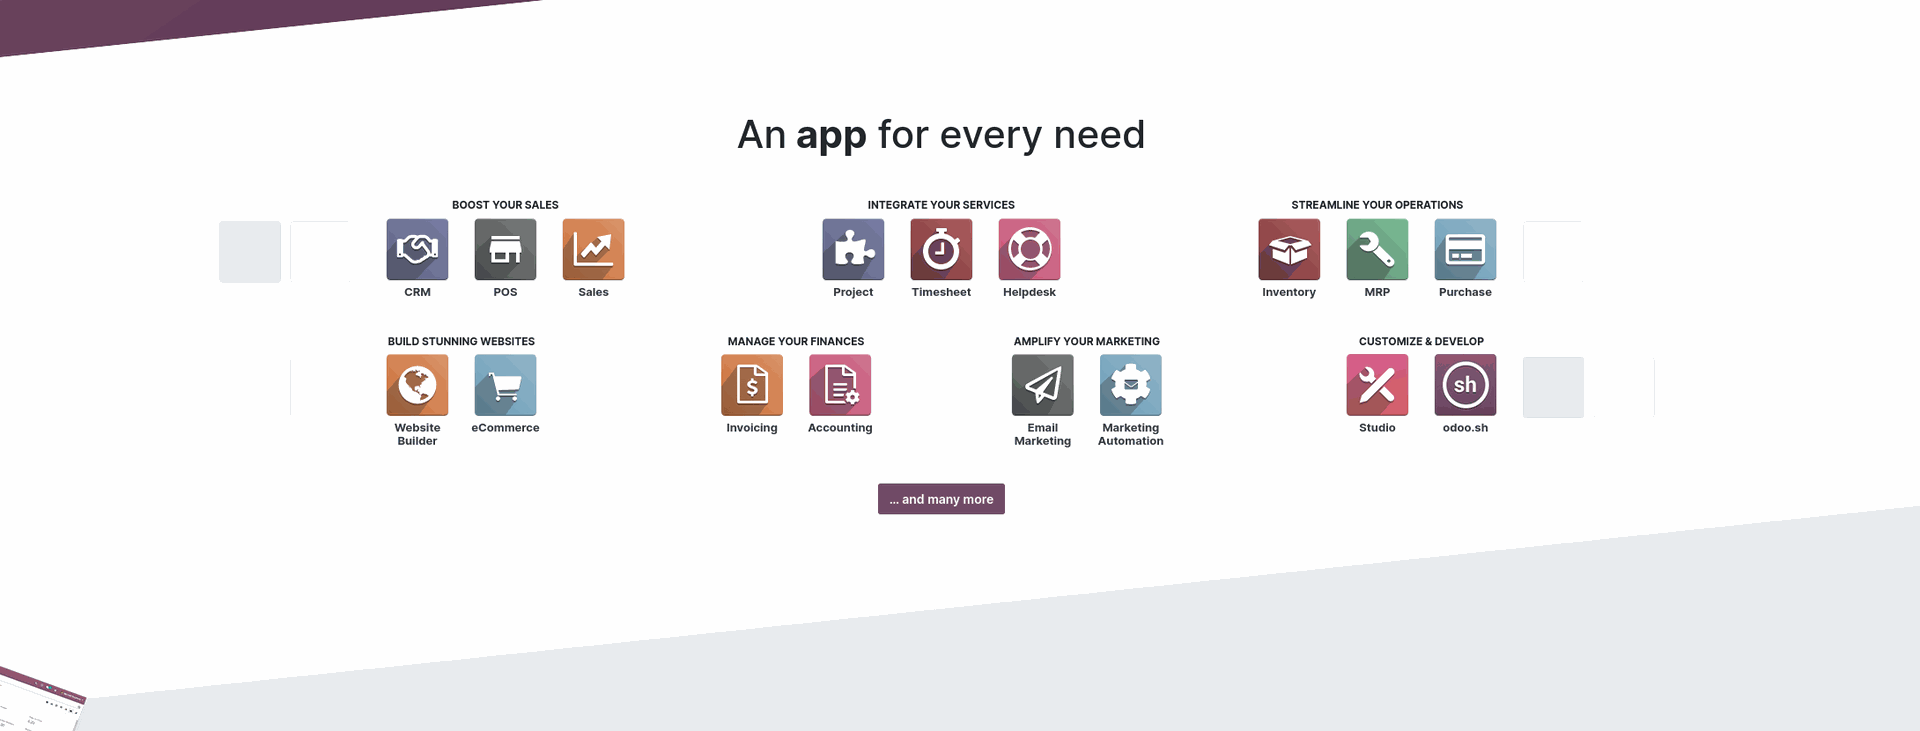
Odoo is a business management software that offers a comprehensive suite of tools including CRM, Sales, Accounting, Inventory, Purchase, HR, E-Commerce and many more. Its modern and intuitive user interface, modular structure and active open-source community make Odoo an ideal fit for companies of all sizes.

Odoo has two editions of the system, Community and Enterprise. The Community edition is the core of the system on the base on which Odoo Enterprise is built. Both are continuously developed with a new version released each year.

While it’s possible to switch from one Odoo edition to another, it may require additional data and module migration. So choosing the right one at the beginning can save up on additional migration costs later. However, sometimes can be a bit difficult to choose which edition to start with. Therefore in this post, I will try to examine the distinctions between Odoo Community and Enterprise editions which hopefully will make the selection process a bit easier.

Community vs Enterprise features

Except from the support that Odoo offers for the enterprise, the main difference between the two editions is the available features.

From the information on their website, we can see that the Community edition is missing mobile support, also only basic Invoicing is available from the Accounting module even though some of these features can be found as part of third-party community modules.
Furthermore, the Community edition is missing the Payroll, Documents and Sign modules, Some built-in connectors such as Amazon Connector, part of the inventory and manufacturing modules, as well as Helpdesk, Planning and Appointments modules in Services and the Studio module which introduces a more user-friendly way of doing customization in the system. However, this type of customization is still limited to some more basic features, I would always recommend for some extensive customization to be done legit python module. While it may require more time and resources initially, it is more sustainable in a long run.

Also, the user interface between the two editions is different, even though the main structure of the application is still the same. From my experience, I would say it could be a bit easier to navigate through the system in the enterprise edition. But still, if you really like the look of the enterprise edition you can easily match it in the community edition by installing some of the available themes that can be found on the Odoo app store.

Cost Comparison

When comparing the costs of the two editions, I should say that even if the community edition is totally free and anyone can download it from GitHub, still, you will need someone who will install, set up and maintain it, also server costs are involved.

On the other hand, the enterprise edition has three pricing plans of which one is Free but I don’t see too much value in it since it is limited only to one app unless you are just starting and want to get familiar with the system. While the other two plans include all apps except Studio.

The first one is for smaller companies which do not need any big customization for the system to suit their needs. They can use the SaaS edition which is reasonably priced at 19.90 EUR per user for the first year and 24.90 EUR per user after that, these are the prices at the moment for the yearly plan, there is a monthly option as well but it is a bit more expensive.

The other pricing plan is for companies that need more extensive customization of the system or want to host it on their own server. Also, this plan adds up the Studio module, multi-company option and External API support, which allows fetching data from external applications using an API. The price for the “Custom” plan is 29.90 EUR per user for the first year and 37.40 EUR for the next years, this is the yearly version of the pricing. It is worth mentioning also that this plan can be hosted on your own server or https://odoo.sh which is a hosting platform managed by Odoo.

Which edition is the one for you?

Which is the best edition for you depends mainly on the needs of your business. If you need only a few users and the needs of your company can be integrated within the existing modules, then the “Standard” plan can be a really good starting point, it has a very low starting threshold and the costs are reasonable, additionally, you don’t need to worry about any technical aspect of the software since this plan is fully supported and maintained by Odoo.

Otherwise, if your company has a bit more complex business processes that need some more extensive customization, you have more than one company that needs to be integrated into the system or you want to have the possibility to use third-party modules then you should decide between the “Custom” plan and the “Community” edition. If you really want to get the full power of Odoo with all features and the budget is not the main decision maker then the “Custom” plan is the way to go. Having the enterprise edition also means an easier upgrade to a new version since Odoo supports the migration of data to new releases. Even though it is worth mentioning that Odoo’s support, migration and maintenance are limited only to their native modules if you install any third-party modules including your own customizations they will not be supported by Odoo.

In case your budget is tight you still can have very decent business management software for your company. The community edition is powerful and will be able to fit most of your needs. Odoo has a really active open-source community that is actively creating and maintaining a large number of modules that can help you a lot in the process of customization and maintenance. Anyway, the chances are quite big that you will need a company that can help you in the process of integration of your business within Odoo and later maintenance of it.

Conclusion

I hope this clears up a bit about the question, of which edition of Odoo is best for your business. The final answer is a bit complex and it depends a lot on your company’s needs. I would recommend always first defining the requirements and processes that your company have and later matching them with the appropriate version. You can always try the latest enterprise version on https://demo.odoo.com while for the community version can be used https://runbot.odoo.com.

Functional
Posts


It is a good practice to create an index for the most searchable fields in the model. In that way, the database search performance can be significantly increased. 

However, should be careful not to add indexes on too many fields because the size of the database can rapidly increase. This means should be detected the most searchable fields and to create indexes only for them. More general info about database indexes can be found here, while a more depth overview of the PostgreSQL indexes can be found in their official documentation.

In Odoo, an index can be added to a  particular field by setting up the index​ attribute to True​ in the field's definition. Other possible values​ for the index​ attribute are: btree​, btree_not_null​, trigram​ and None​ or False​ which means no indexed field and it is the default value. More details for each of these values can be found in Odoo's documentation.

An example of adding index to the field sequence​ in the PartnerContact​ model is shown below:

from odoo import models, fields

class PartnerContact(models.Model):
​_name = 'partner.contact'
_description = 'PartnerContact'

sequence = fields.Integer(index=True)


Odoo 17 Odoo 18 Technical
Tips